
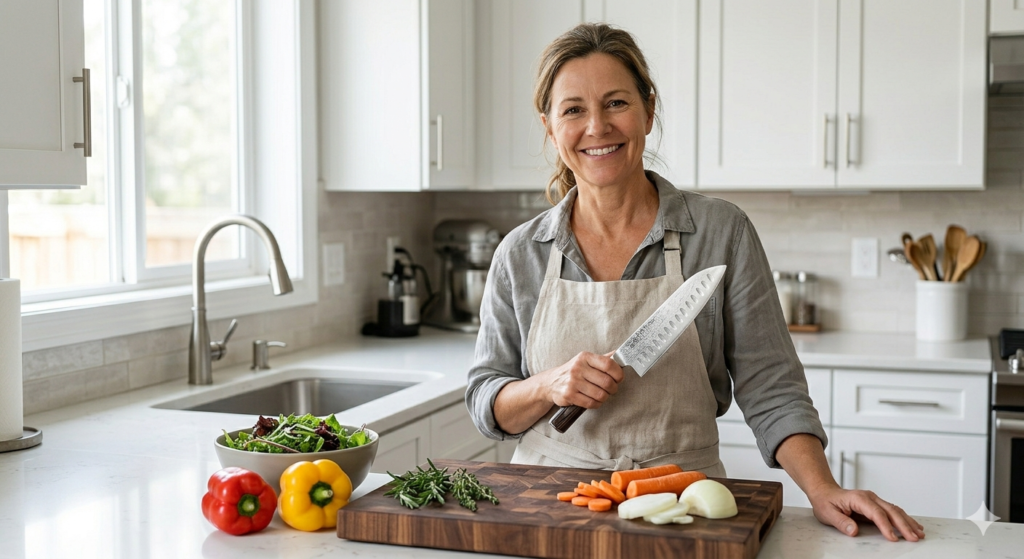
The Ultimate Guide to Knife Sharpening at Home (2025): How to Sharpen Kitchen Knives Like a Pro

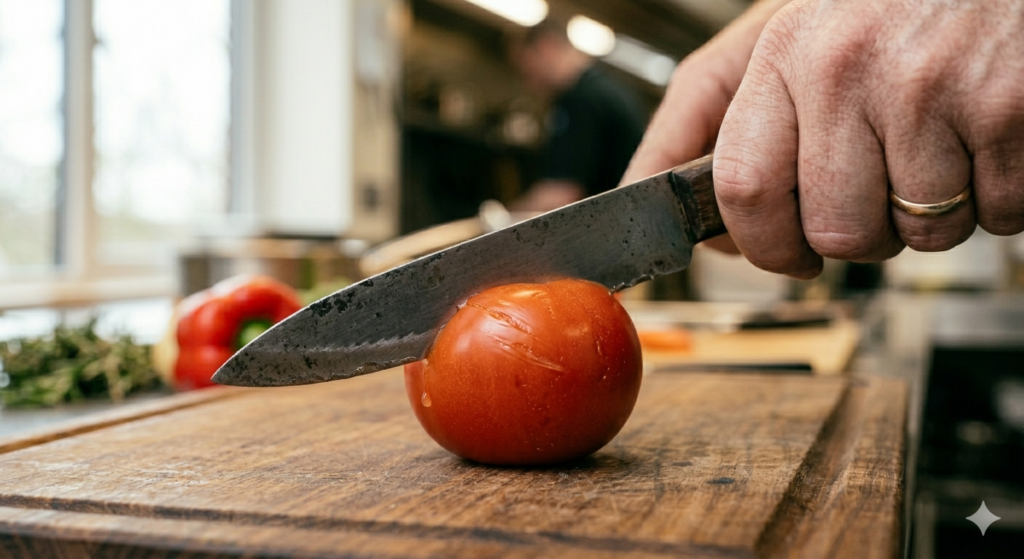
Did you know that a dull knife is actually more dangerous than a sharp one? It might sound surprising, but it’s absolutely true. In my 15 years of experience working in professional kitchens, I’ve seen more accidents caused by dull knives than sharp ones. When a knife struggles to cut, it slips—and that’s when injuries happen.
The good news? You don’t need to be a professional chef to keep your knives razor sharp. With the right techniques and a little practice, you can maintain your kitchen knives at home and dramatically improve your cooking experience.
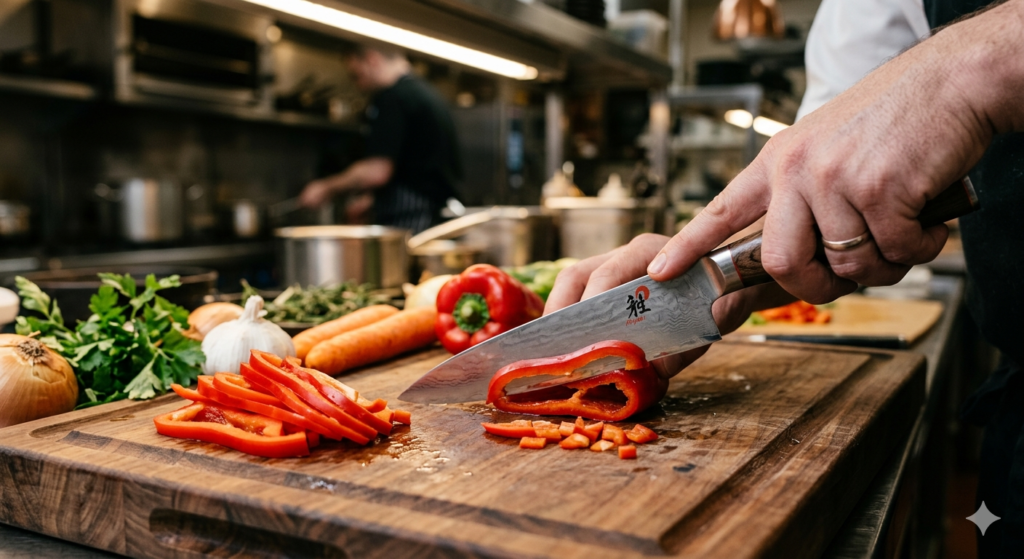
Why Sharp Knives Matter
A sharp knife doesn’t just make cooking easier—it makes it safer, faster, and far more enjoyable.
When your knife is properly sharpened:
- Vegetables are sliced cleanly instead of being crushed
- Meat cuts smoothly instead of tearing
- You use less force, reducing fatigue and risk
Many beginners don’t realize that knife performance has a direct impact on cooking quality. If you’re working on improving your overall kitchen skills, having sharp tools is just as important as understanding basic techniques like how to cook properly.
The Difference Between Honing and Sharpening
Before you start sharpening, it’s important to understand a key concept:
- Sharpening removes metal to create a new edge
- Honing realigns the existing edge
Think of it this way: honing is regular maintenance, while sharpening is a more thorough repair.
Every time you use your knife, the edge slightly bends or folds. Regular honing keeps it aligned, but eventually, the blade becomes too dull and needs sharpening.
If you’re already organizing your kitchen workflow using methods like mise en place, adding knife maintenance to your routine will make your prep work much smoother.
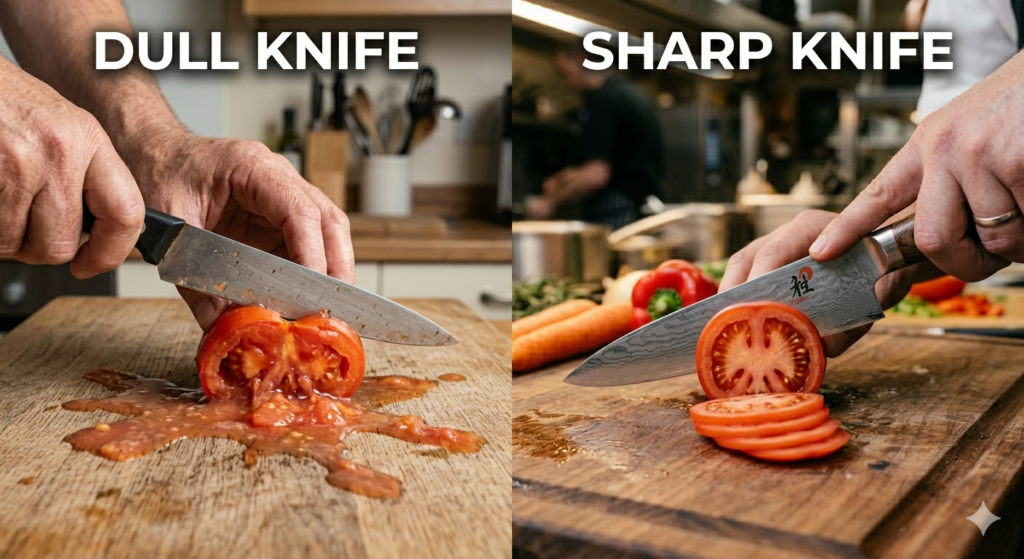
Signs Your Knife Needs Sharpening
Not sure if your knife is dull? Look for these signs:
- It struggles to slice through tomato skin
- Paper tears instead of cutting cleanly
- You need to apply extra pressure
- The blade slips off food
- You can see light reflecting off the edge
💡 Tip: A sharp knife should “bite” into food immediately.
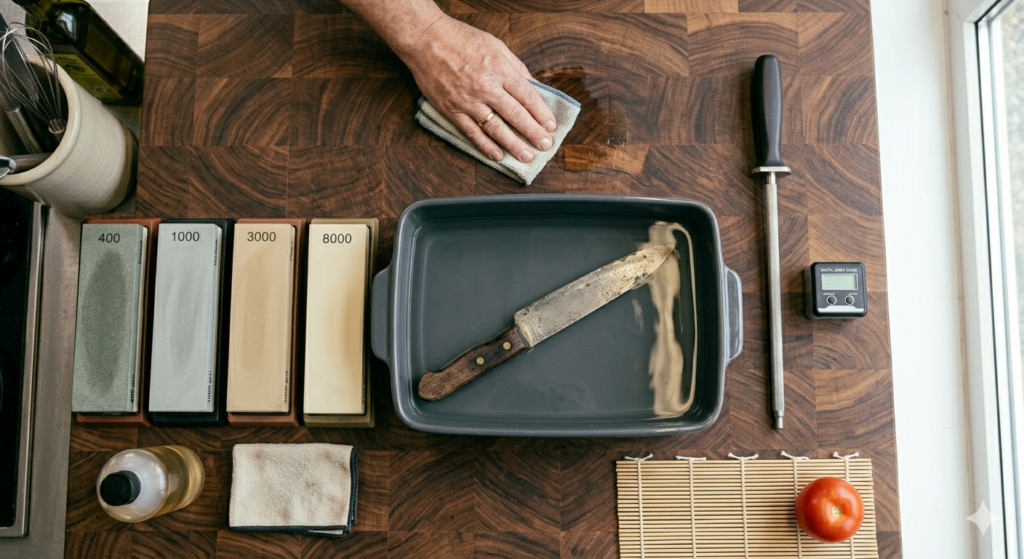
Essential Tools for Knife Sharpening
To sharpen knives effectively, you’ll need a few basic tools.
1. Whetstones (Water Stones)
These are the most effective and widely used sharpening tools.
- 1000 grit → for sharpening
- 4000–6000 grit → for finishing
- 400 grit (optional) → for repairing damaged edges
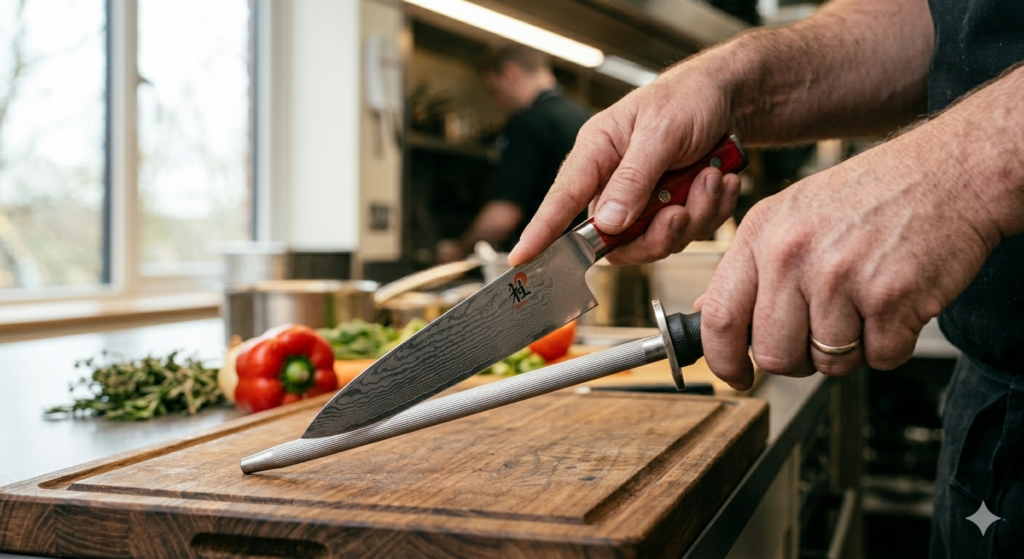
2. Honing Rod
Used for daily maintenance, not sharpening.
- Steel or ceramic rod
- Around 12 inches long
3. Additional Tools
- Non-slip mat or stone holder
- Angle guide (helpful for beginners)
- Clean cloths
- Water container
If you’re new to measuring and precision in the kitchen, it’s worth learning how to measure ingredients accurately—this same attention to detail applies when sharpening knives.
Step-by-Step Knife Sharpening Process
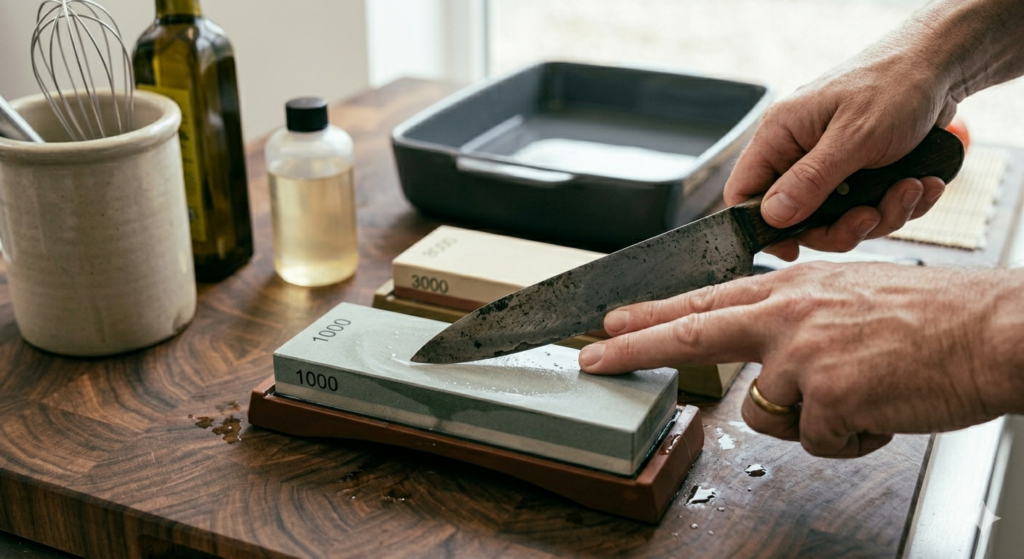
1. Preparation
Soak your whetstone in water for 10–15 minutes (if required). Place it on a stable, non-slip surface.
2. Find the Right Angle
Most kitchen knives are sharpened at a 20-degree angle.
To estimate:
- Hold the knife straight up (90°)
- Tilt halfway (45°)
- Tilt halfway again (~20°)
Consistency matters more than perfection here.
3. Sharpening Technique
- Start with a 1000-grit stone
- Place the knife at the correct angle
- Apply moderate pressure
- Slide the blade across the stone
- Repeat evenly on both sides
Continue until you feel a slight burr (a thin edge) along the blade.
4. Finishing
Switch to a higher grit stone (4000–6000):
- Use lighter pressure
- Smooth the edge
- Finish with gentle strokes
This step refines the blade and gives it a razor-sharp finish.
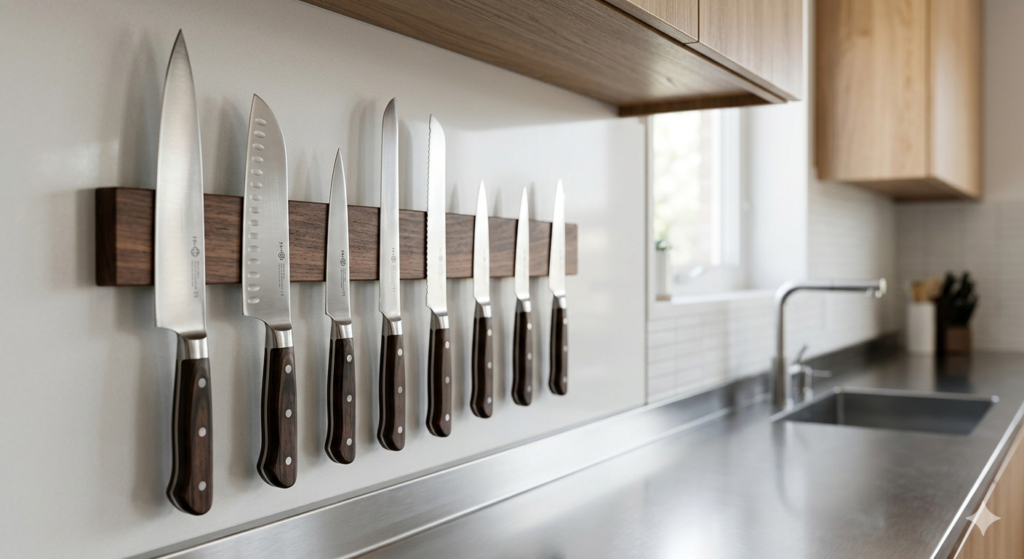
Maintenance and Care
Sharpening is only part of the process—maintenance is what keeps your knife sharp longer.
Daily Care
- Wash and dry immediately after use
- Use a honing rod regularly
- Store properly (knife block or magnetic strip)
Cutting Surfaces
Always use:
- Wooden boards
- Soft plastic boards
Avoid:
- Glass
- Marble
- Granite
These hard surfaces will quickly dull your blade. For more on safe kitchen practices, understanding food safety and proper handling is equally important.
Regular Maintenance Schedule
- Hone before each use
- Sharpen every 3–6 months (home use)
- Clean and dry stones after use
Common Knife Sharpening Mistakes
Even beginners can get good results—if they avoid these mistakes:
❌ Inconsistent Angle
Leads to uneven edges
❌ Too Much Pressure
Can damage the blade
❌ Skipping the Finishing Step
Results in a rough edge
❌ Not Cleaning the Knife
Leaves residue and reduces performance
Just like in cooking, small mistakes can affect the final result. Understanding fundamentals like cooking temperature control and knife maintenance together will significantly improve your kitchen skills.
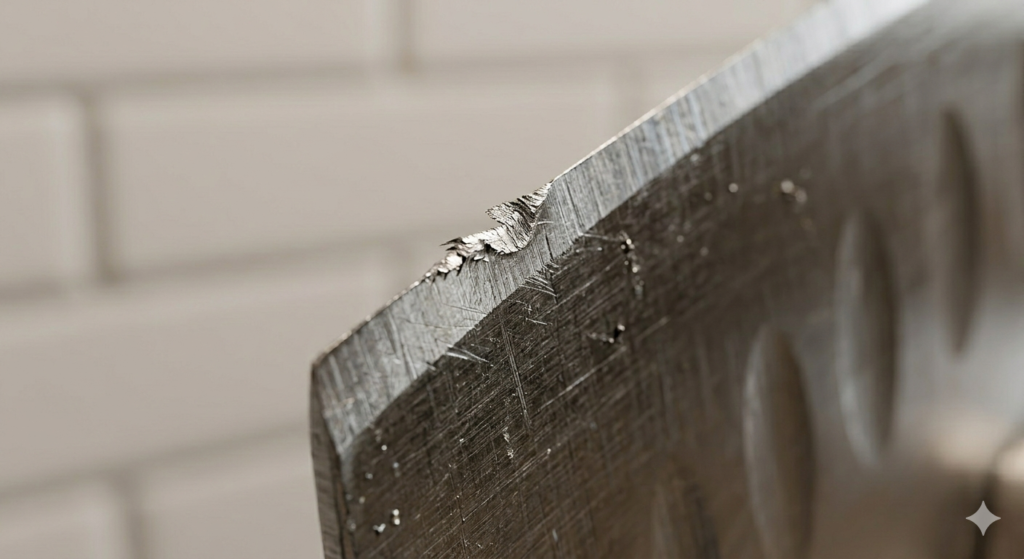
Troubleshooting Common Problems
Uneven Edge
- Use a marker to track sharpening
- Ensure even strokes
Chips or Nicks
- Start with coarse grit (400)
- Gradually refine
Edge Dulls Quickly
- Increase the sharpening angle slightly
- Avoid excessive pressure during use
Pro Tips for Better Results
- Take your time—rushing leads to mistakes
- Practice on less expensive knives first
- Keep your stone wet during sharpening
- Focus on consistency, not speed
Knife sharpening is a skill that improves with practice. The more you do it, the more natural it becomes.
Learn More from Experts
If you want to see professional demonstrations and deepen your understanding, check out this excellent resource from Serious Eats knife sharpening guide. It provides expert-level insights and visual explanations that complement what you’ve learned here.
Conclusion
Learning to sharpen your knives is one of the most valuable kitchen skills you can develop. It improves safety, efficiency, and the overall quality of your cooking.
Start simple, stay consistent, and don’t worry if it feels difficult at first. With regular practice, you’ll build confidence and skill over time.
A sharp knife doesn’t just make cooking easier—it transforms the entire experience.
Next Steps
To continue improving your kitchen skills:
- Practice knife sharpening regularly
- Learn proper cutting techniques
- Improve your cooking workflow
- Master heat control and timing
With the right habits, you’ll move from beginner to confident home cook faster than you expect.